Making Some pfSense
Not that I really need it, but an idea of getting rid the household of ads was compelling enough. So I got myself a little “industrial PC”, added a stick of RAM and mSATA SSD from an old laptop and installed pfSense in no time!
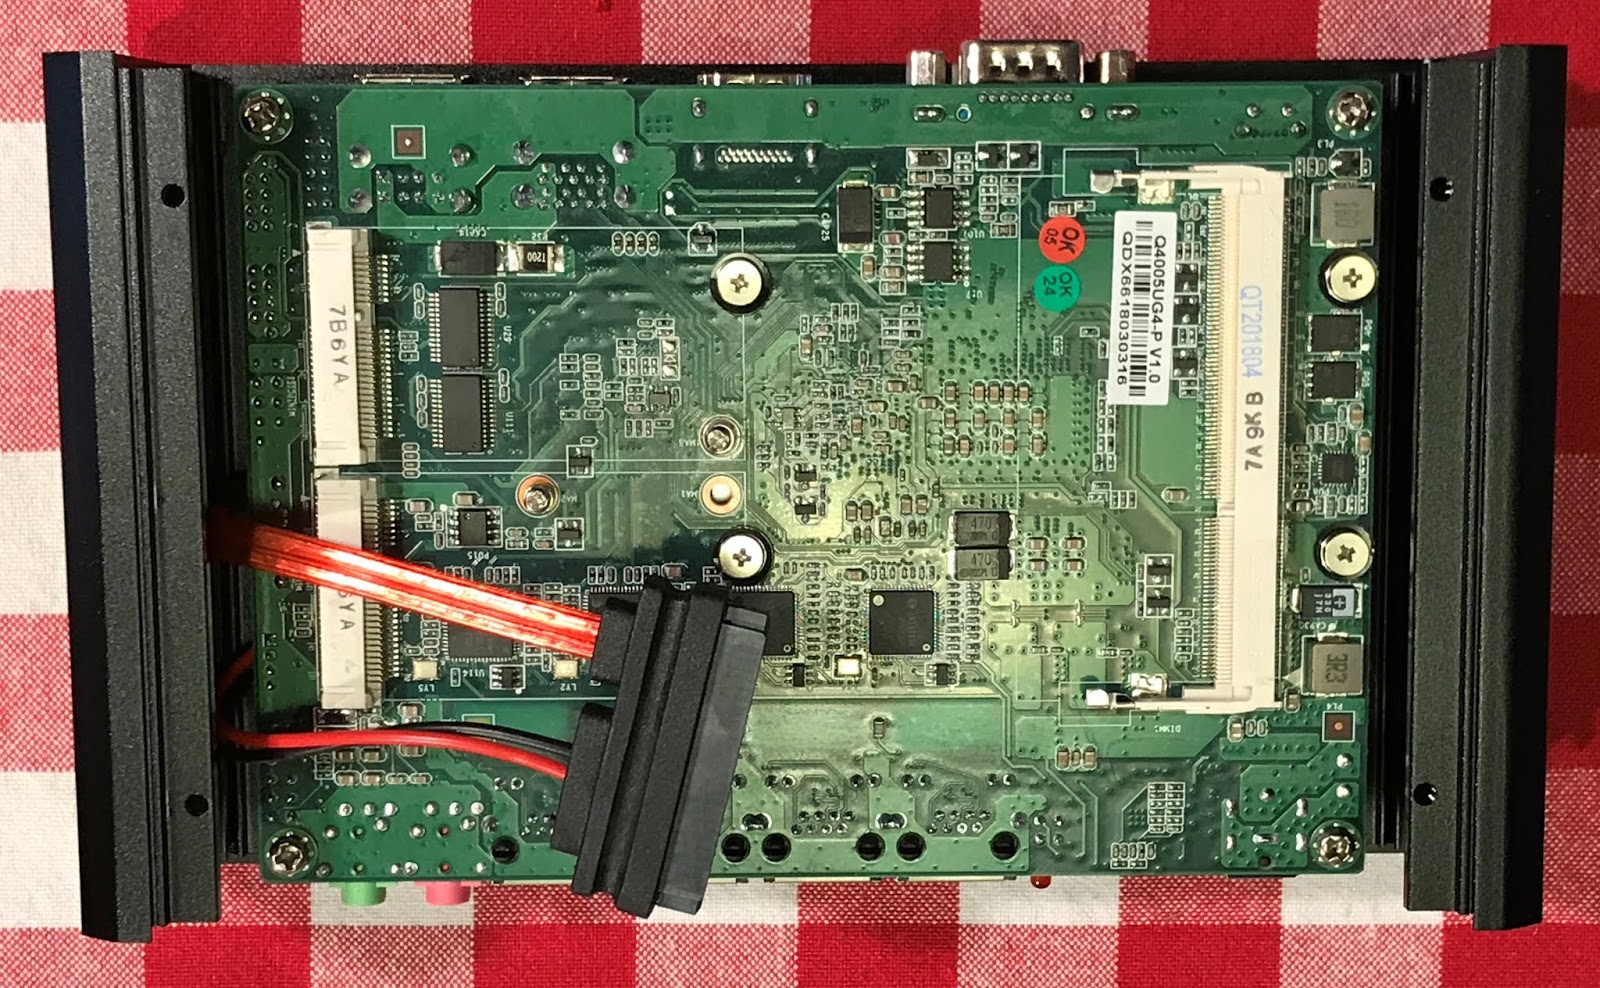
As you can see, a SATA cable is provided - this is important because the other end uses a proprietary connector. This cable created a rattling noise which made me worry when I first got my hands on the box. The cable goes unused.
The enclosure is all metal, and there are no moving parts inside. The CPU heat-sink is touching external wall of the enclosure - you can see the PCB is flexing noticeably.
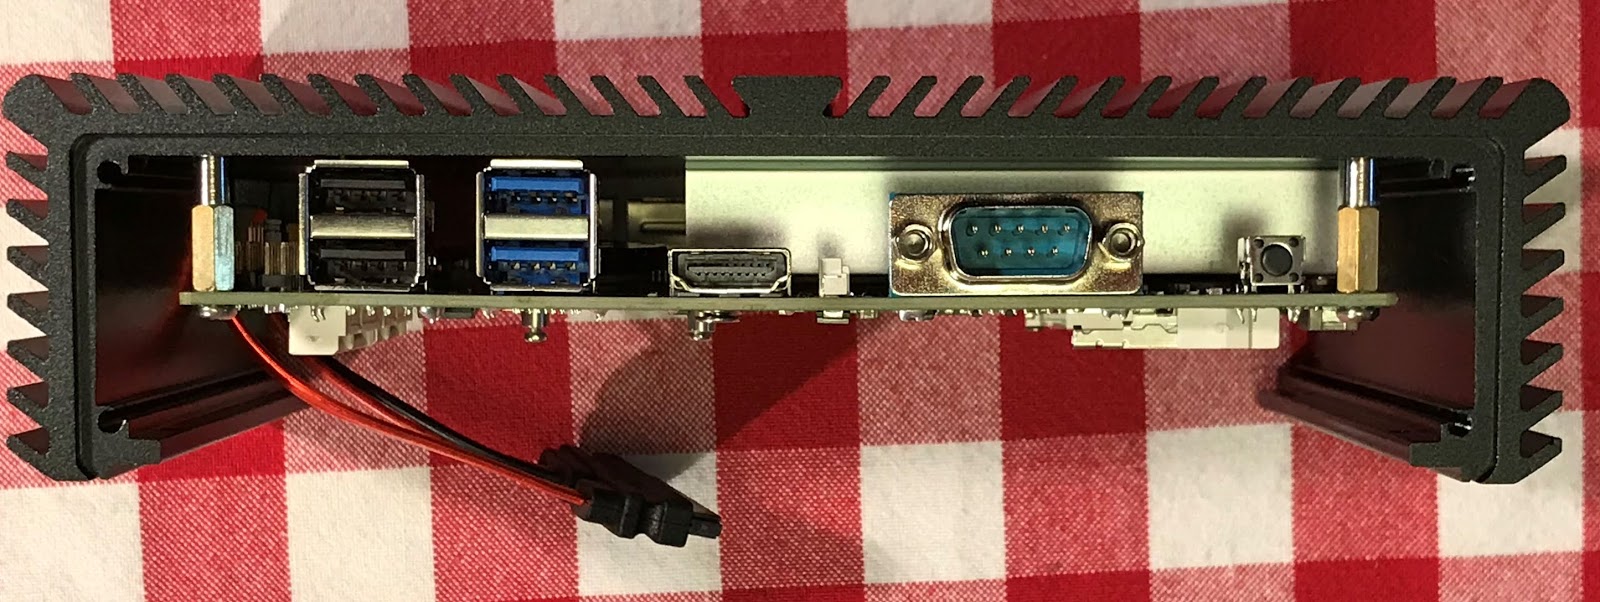
There are 4 Intel NICs onboard! pfSense assigns names in a somewhat unexpected manner:
| Port# | pfSense Default Assignment |
|---|---|
| 1 | Internet |
| 2 | Opt2 |
| 3 | Opt1 |
| 4 | LAN |

mSATA SSD and RAM installed. There is a slot for a WiFi card which I left unpopulated. I rely on Ubiquity Access Point for that.
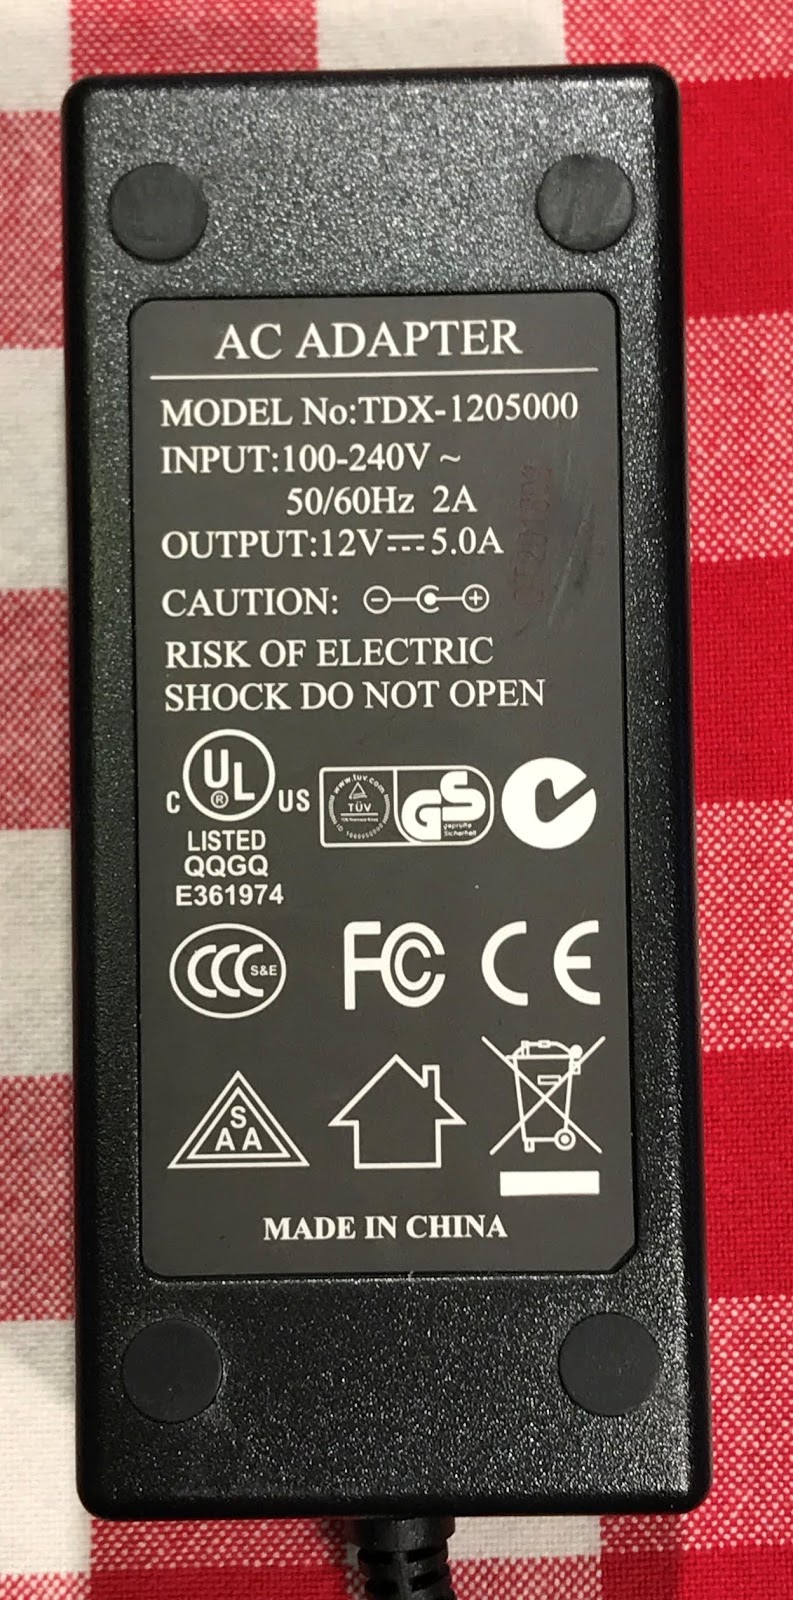
Power supply brick. Very unimpressive. It idles at 7W, spikes to 14W.
pfSense installation went smoothly, all components were recognized during the install - you do need to tell pfSense to use AES hardware. It does dissipate a decent amount of heat, so that after running a night in an enclosed cabinet the temperature went up to 50C. Adding a vent reduced temperature 35C. CPU cores temps reported at 36C.
I run DNSmasq, DHCP server, Squid, ntpd and ntopng (highly recommended). I was surprised how much HTTPS and how little HTTP is there, but Squid did manage to cache iTunes updates. CPU use spikes to 32% but most of the time it is below 5%.
tags: hardware